You will need:

- Maps of some kind (I used road atlases)
- or tonnes of craft paper, you can use whatever you like!!
- lots of blue tack
- a fair amount of time (it took me the majority of my afternoon)
- and a great playlist to keep you going...
- (optional) a friend to help you
Step one: Choose your paper and pile them up with the image you want facing downwards (this just makes it easier for the tacking).
Step two: Go though all the pieces of paper and put a small amount of blue tack on each corner, then take them over to the wall you're going to cover.
 Step three: Stick the paper to the wall (I started at the bottom right, then made my way along to the left, leaving the very top ones until last, which I had to get a ladder for). I had to cut up some pieces to go around plugs and to make them the right height and width so it looked good at the edges, but other than that, it was a simple task!!
I think it looks pretty cool and is definitely going to be staying up for a while, but by only using blue tack to put it up means it will be easy to take it down again if I want to :)
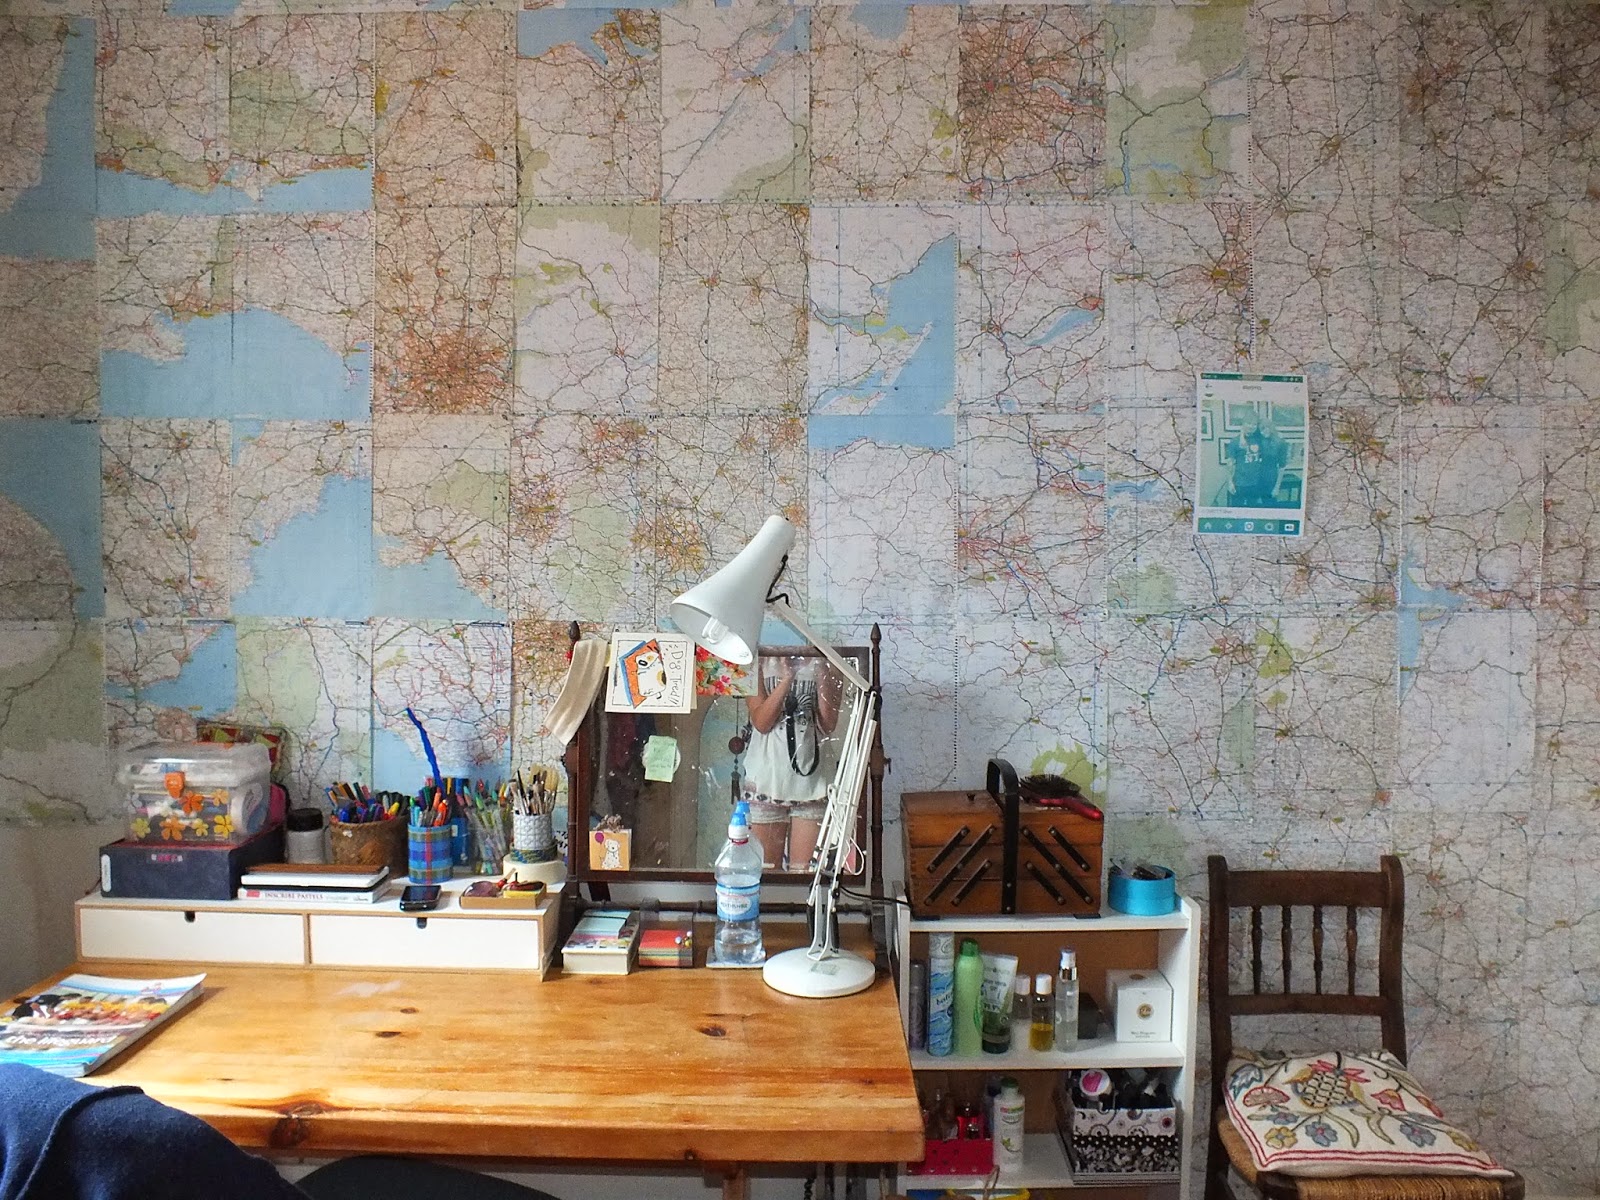 |
| The finished wall |
No comments:
Post a Comment